Week 3
3D Scanning & Printing
Assignment
- Scan an object using photogrammetry or a 3D scanner.
- Model an object with a maximum dimension of 5 cm that would be difficult to manufacture using subtractive methods.
- Prepare a project with print parameters in Prusa Slicer or Bambu Studio.
- Save the project in 3MF format and send it to Krištof Pučejdl via MS Teams.
- Upload the results on your website.
3D Scanning
Choosing an Object
I pondered for a while about what object to scan. I wanted something that would be useful in my final project. I didn't find anything suitable, so I decided to scan this bird "water flute" that had surface details I wanted to see if the scanner could capture.
Scanning Process
We used the scanners available at KN, Faculty of Mechanical Engineering, CTU. The process of scanning was as follows:
- Set up the scanner and the object
- Turn off VR on the computer via script
- Turn on the scanner
- Boot up the scanner software
- Ensure the scanner is connected and recognized in the software
- Configure the scan settings
- Texture mode is slower but gives you the color of the object
- Geometry mode is faster but only provides the 3D mesh
- Set the reference mode to "turntable" if using the turntable with marker dots
- Set the "resolution" of the scan by the number of scans (I used 8 for the bird and 8-12 for my sister's fantasy beast)
- Set the turntable speed (I used the highest speed)
- Full rotation if the model is not symmetrical
- Enable HDR for automatic brightness adjustment
- Prepare the object
- Place the object on the turntable, slightly off-center
- Ensure it is visible in the software
- Put the provided cloth curtain behind the turntable
- Scan the object
- Start the scan
- Wait for the scan to finish
- Check if the scan is good
- Select and delete any noise or unwanted parts of the scan
- Complete the scan
- Repeat as necessary
- Process the scan
- Align the scans
- Mesh the scans (I chose a mesh with holes for the bird and a watertight one for the fantasy beast)
- Check the mesh
- Simplify the mesh if needed
- Export the scan
- Export the scan as an STL file
- Check the file in a viewer


Findings
The scanner captured the surface details of the bird, but noise was present in the scan. After 2 scans, the model was almost perfect. I did 3 scans to be sure. I let the program align and mesh the scans. Satisfied with the result, I exported the mesh.
STL Preview
Scanning with Color
I also scanned a fantasy beast my sister made. I used texture mode for this scan to capture the color. The model was bigger than the scanner could fit, so I scanned it from multiple sides and aligned the scans in the software. After several scan sessions, I got a good scan of the beast. I simplified the model and remapped the textures before exporting it.


STL Preview
3D Modelling
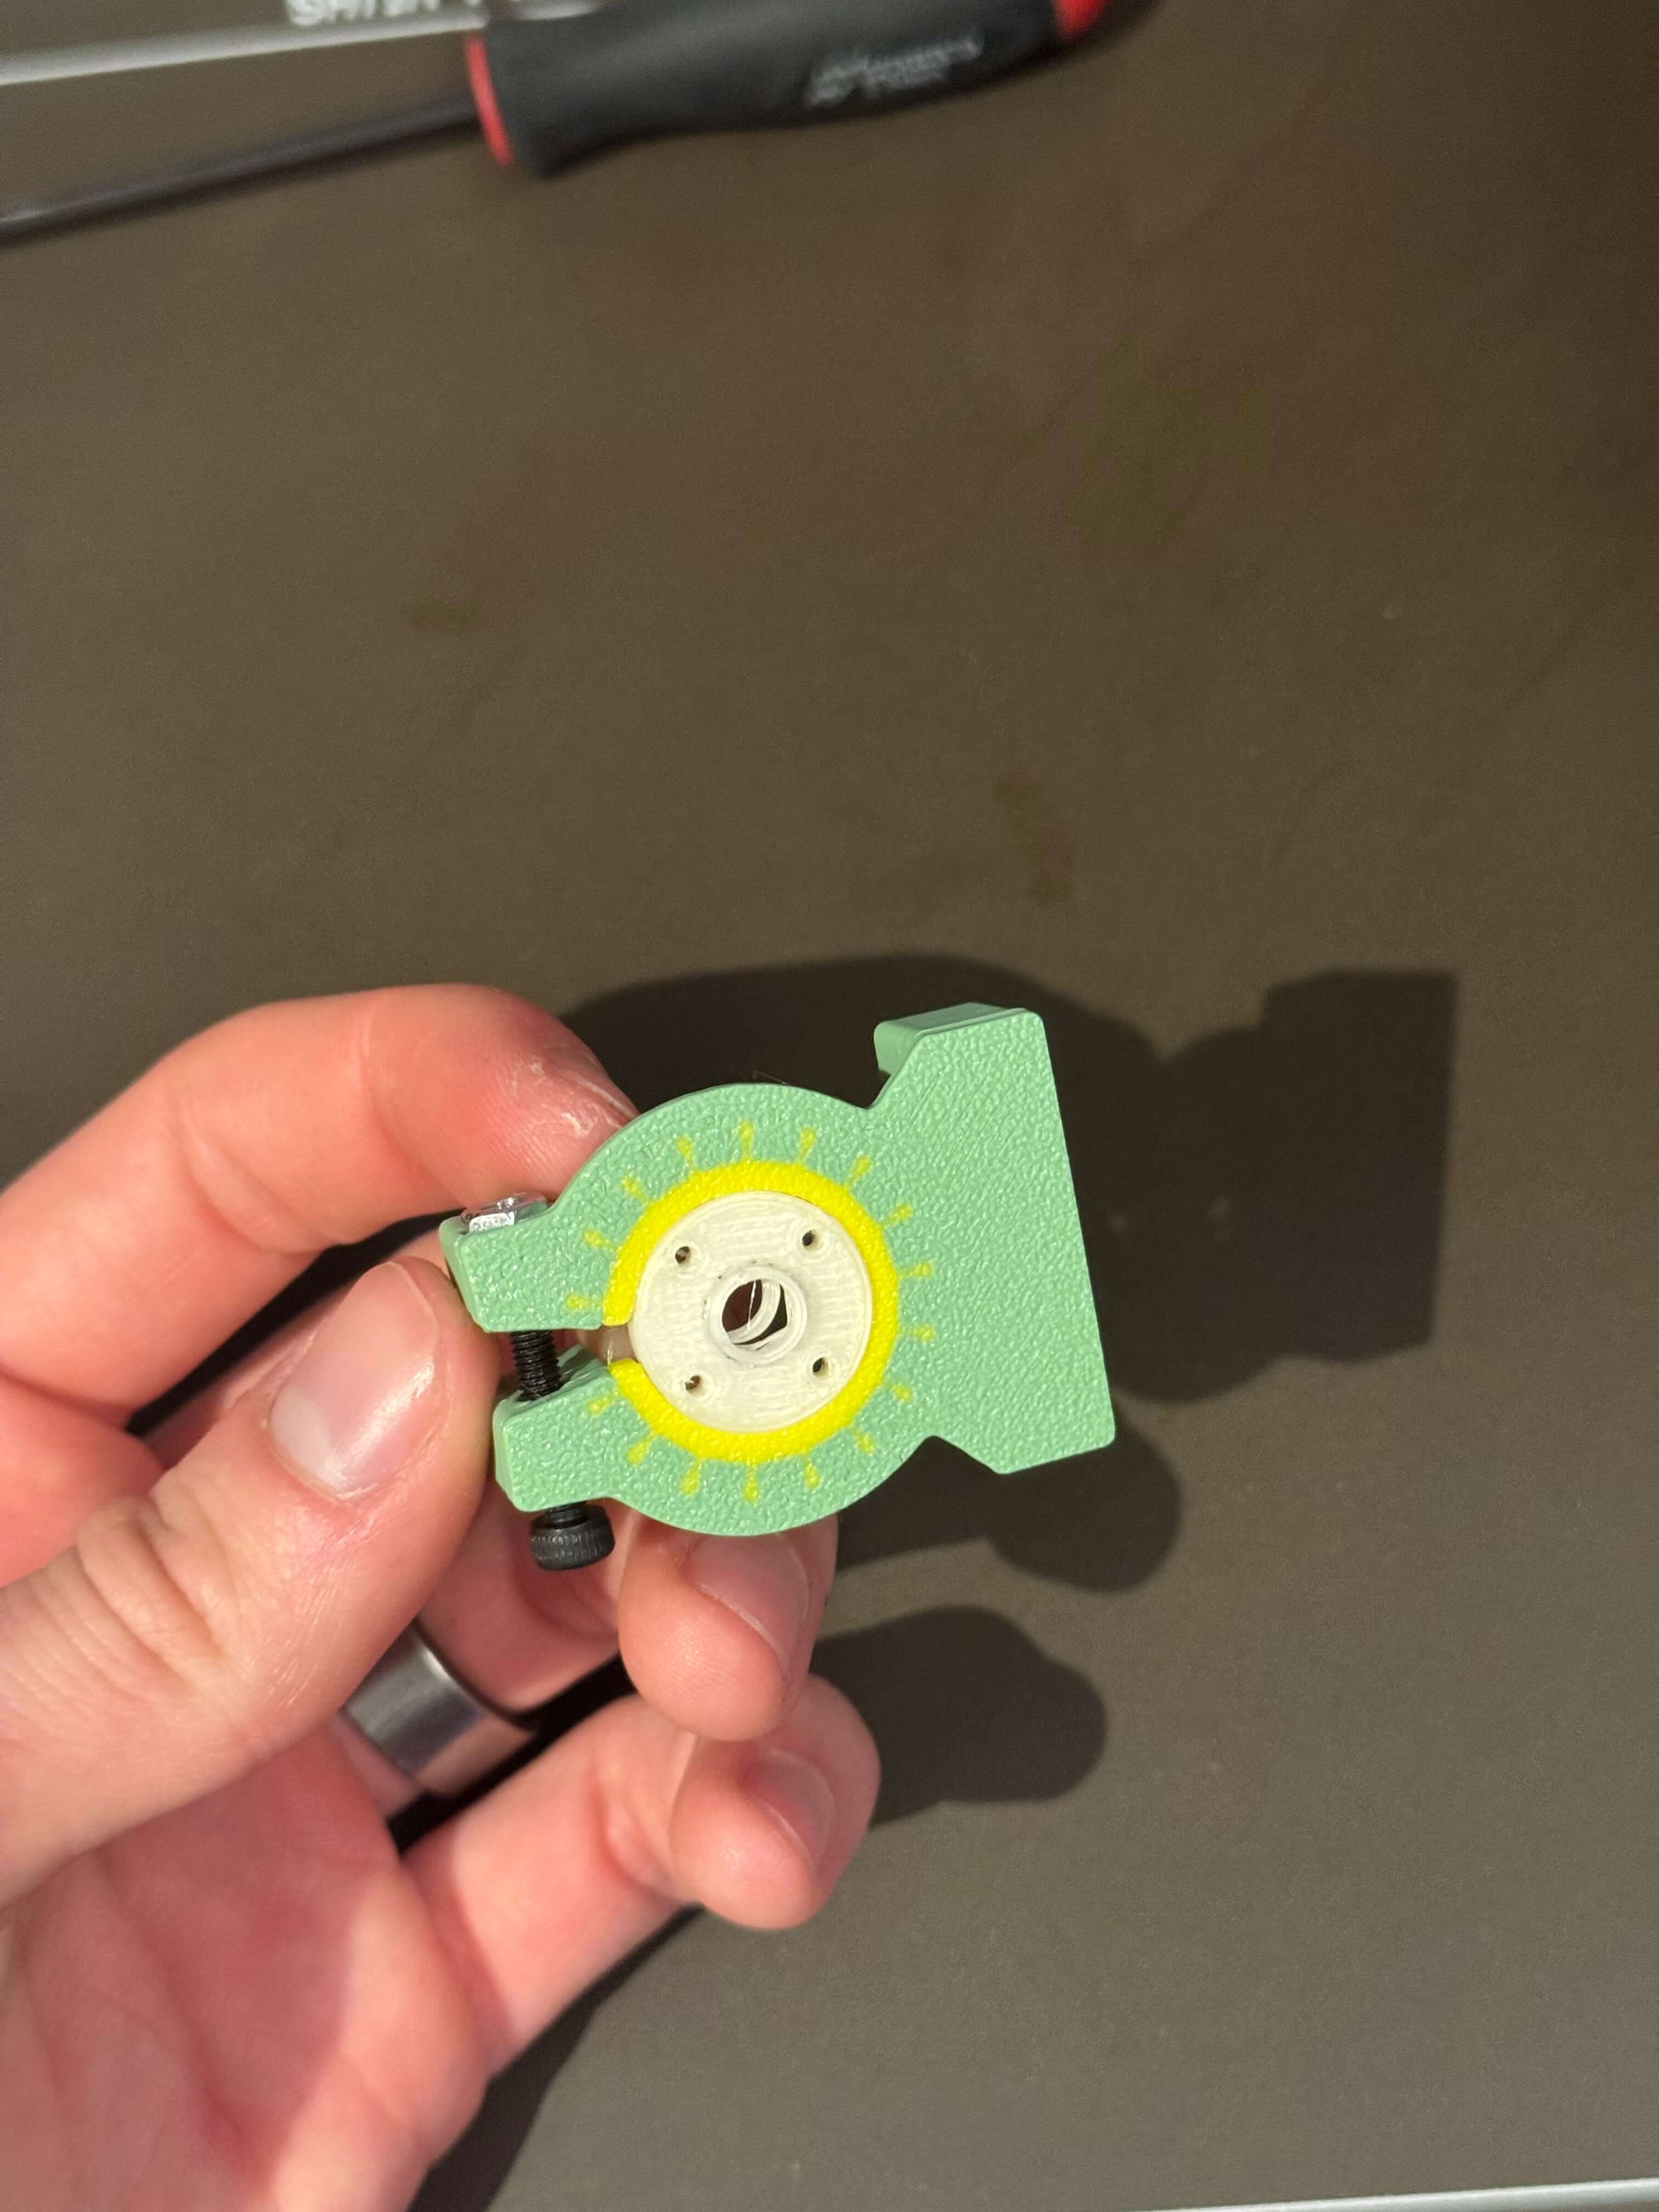
I currently work at CIIRC, where I am designing a better teleoperation device. One of my proof of concepts is a completely passive braking mechanism with adjustable resistance. I modeled this mechanism in Fusion 360, using the friction between rubber and plastic as the braking force. I decided to print the mechanism using TPU (rubber) and PETG (plastic) in one go. Here is a cool guide on how to pair materials.


Slicing for Celestýna (Bambulab X1C)
I used OrcaSlicer to slice the file for Celestýna. Here are the settings I used:
- 0.2 mm "Standard" profile for the Bambulab X1C with a 0.4mm nozzle
- Textured build plate
- 25% cubic infill
- 4 perimeters
- Bambu TPU for AMS for the rubber part
- Generic PETG for the plastic part


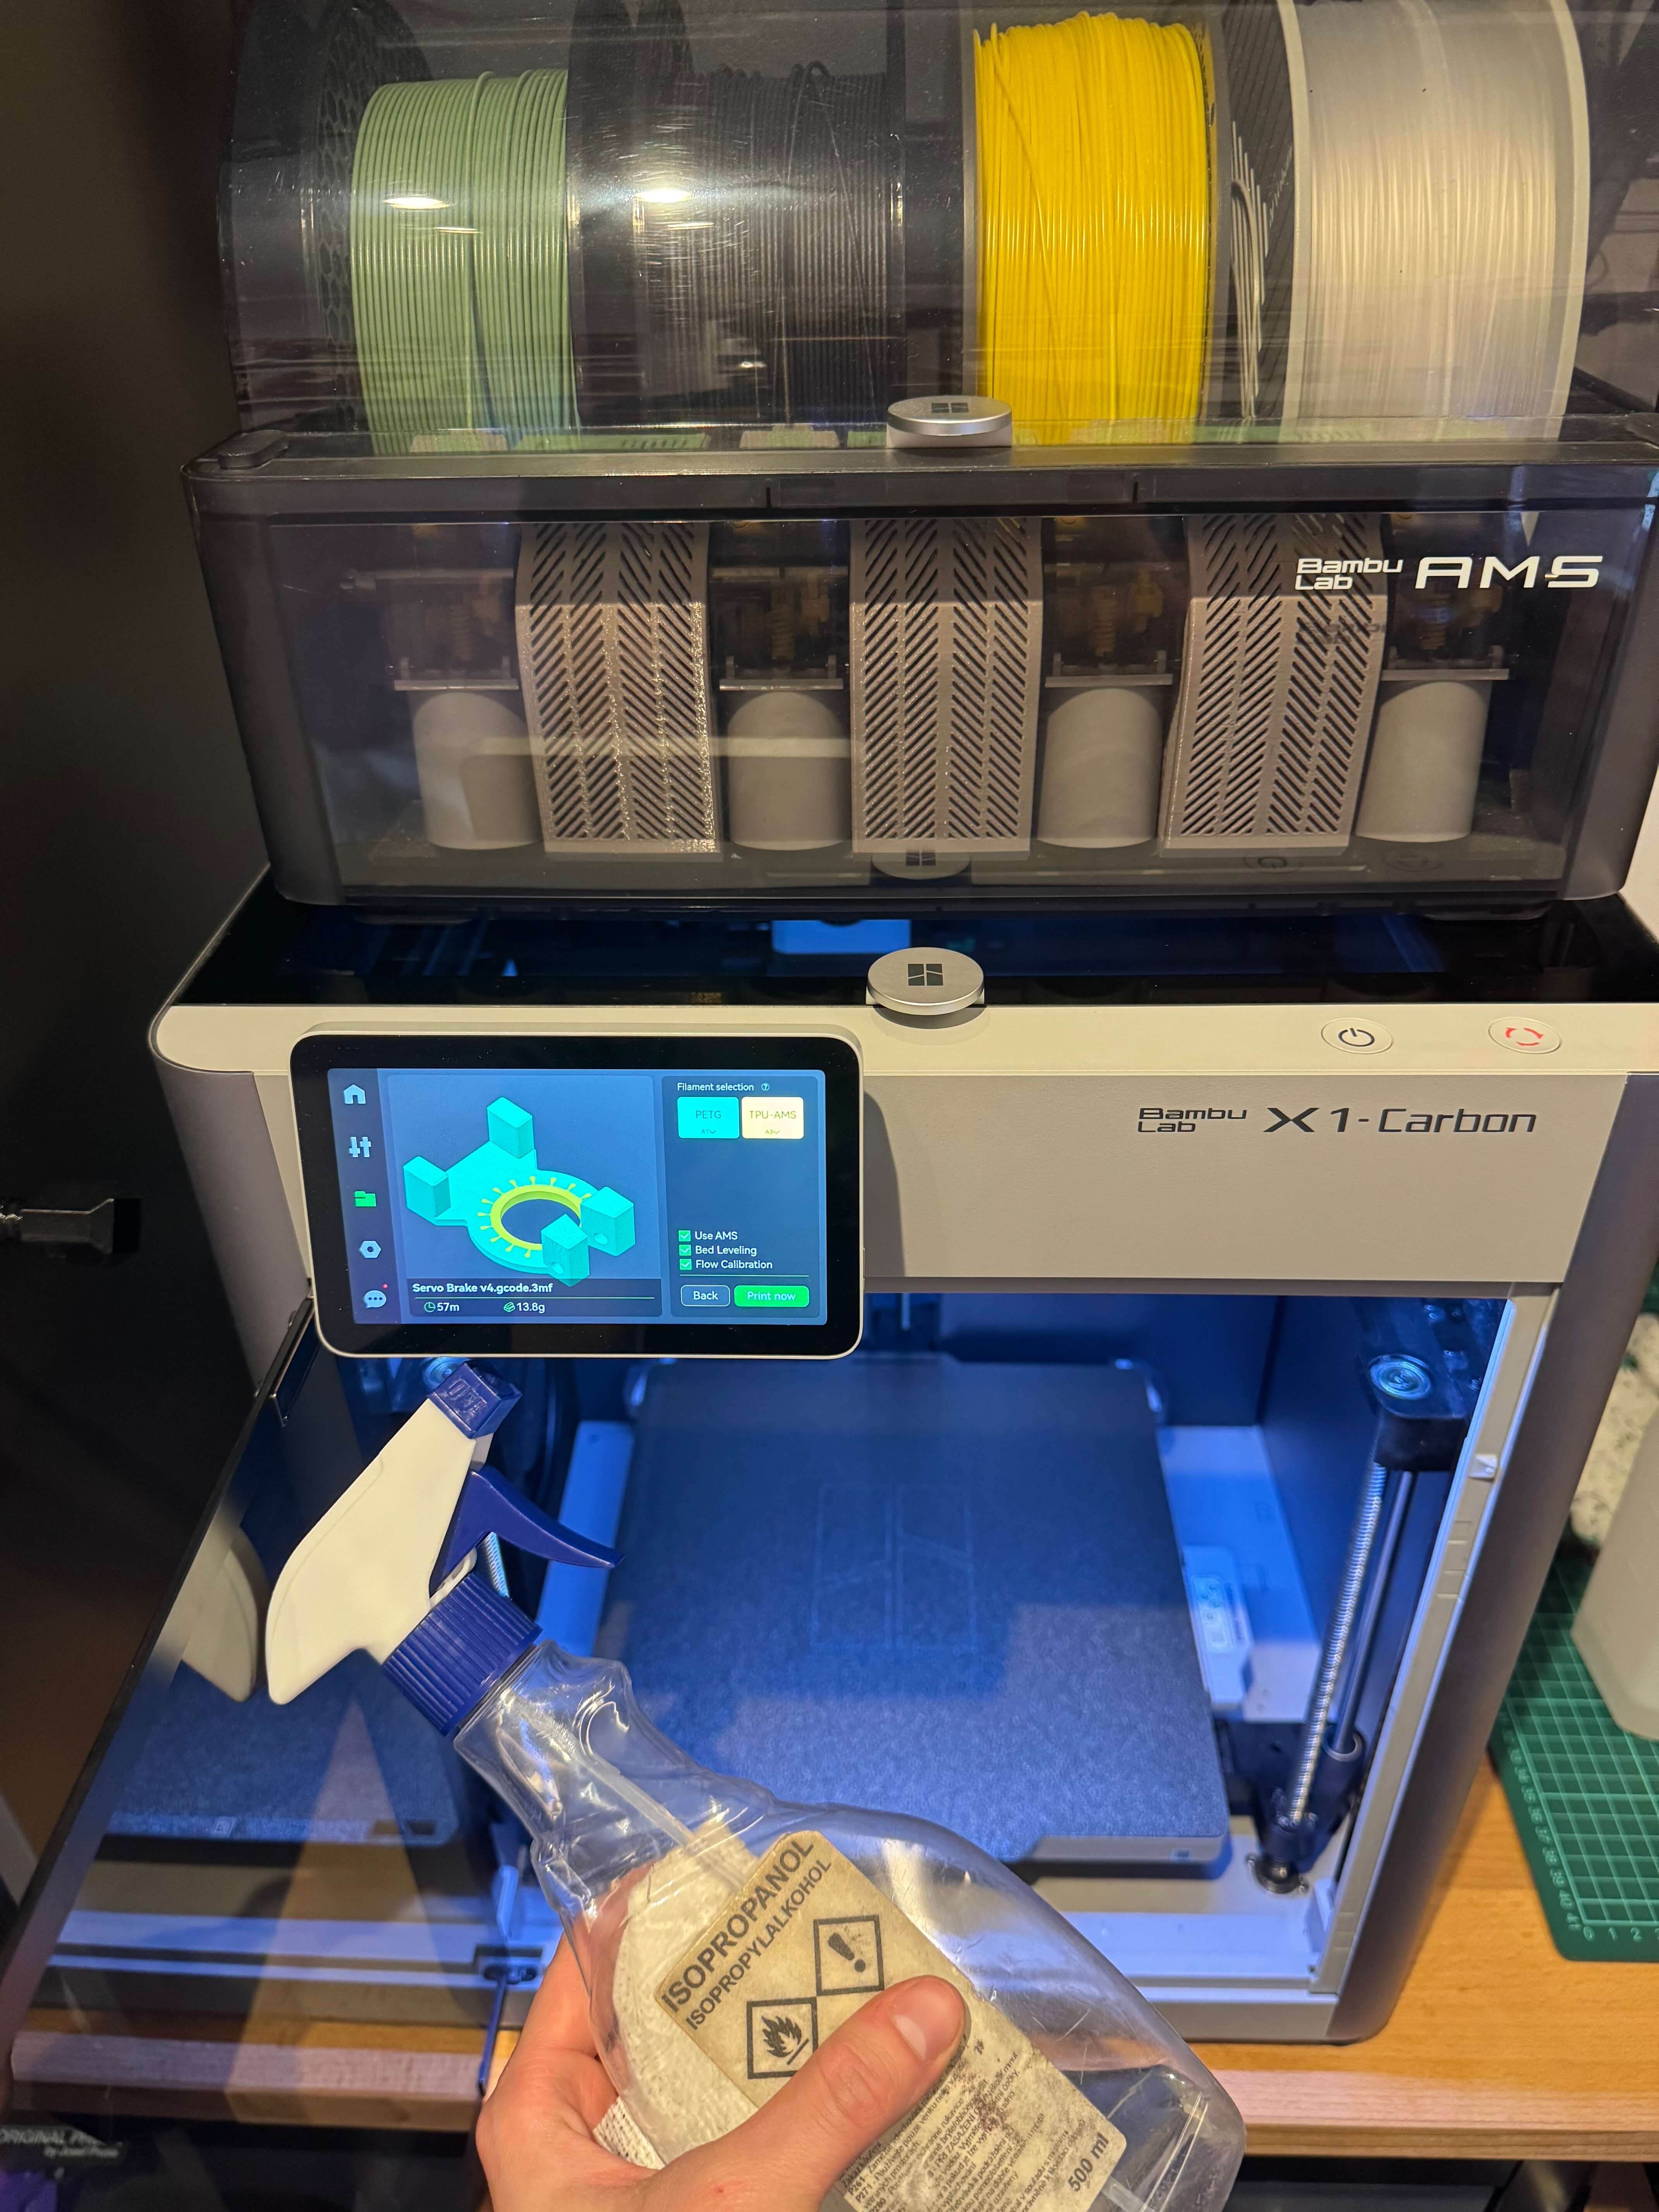
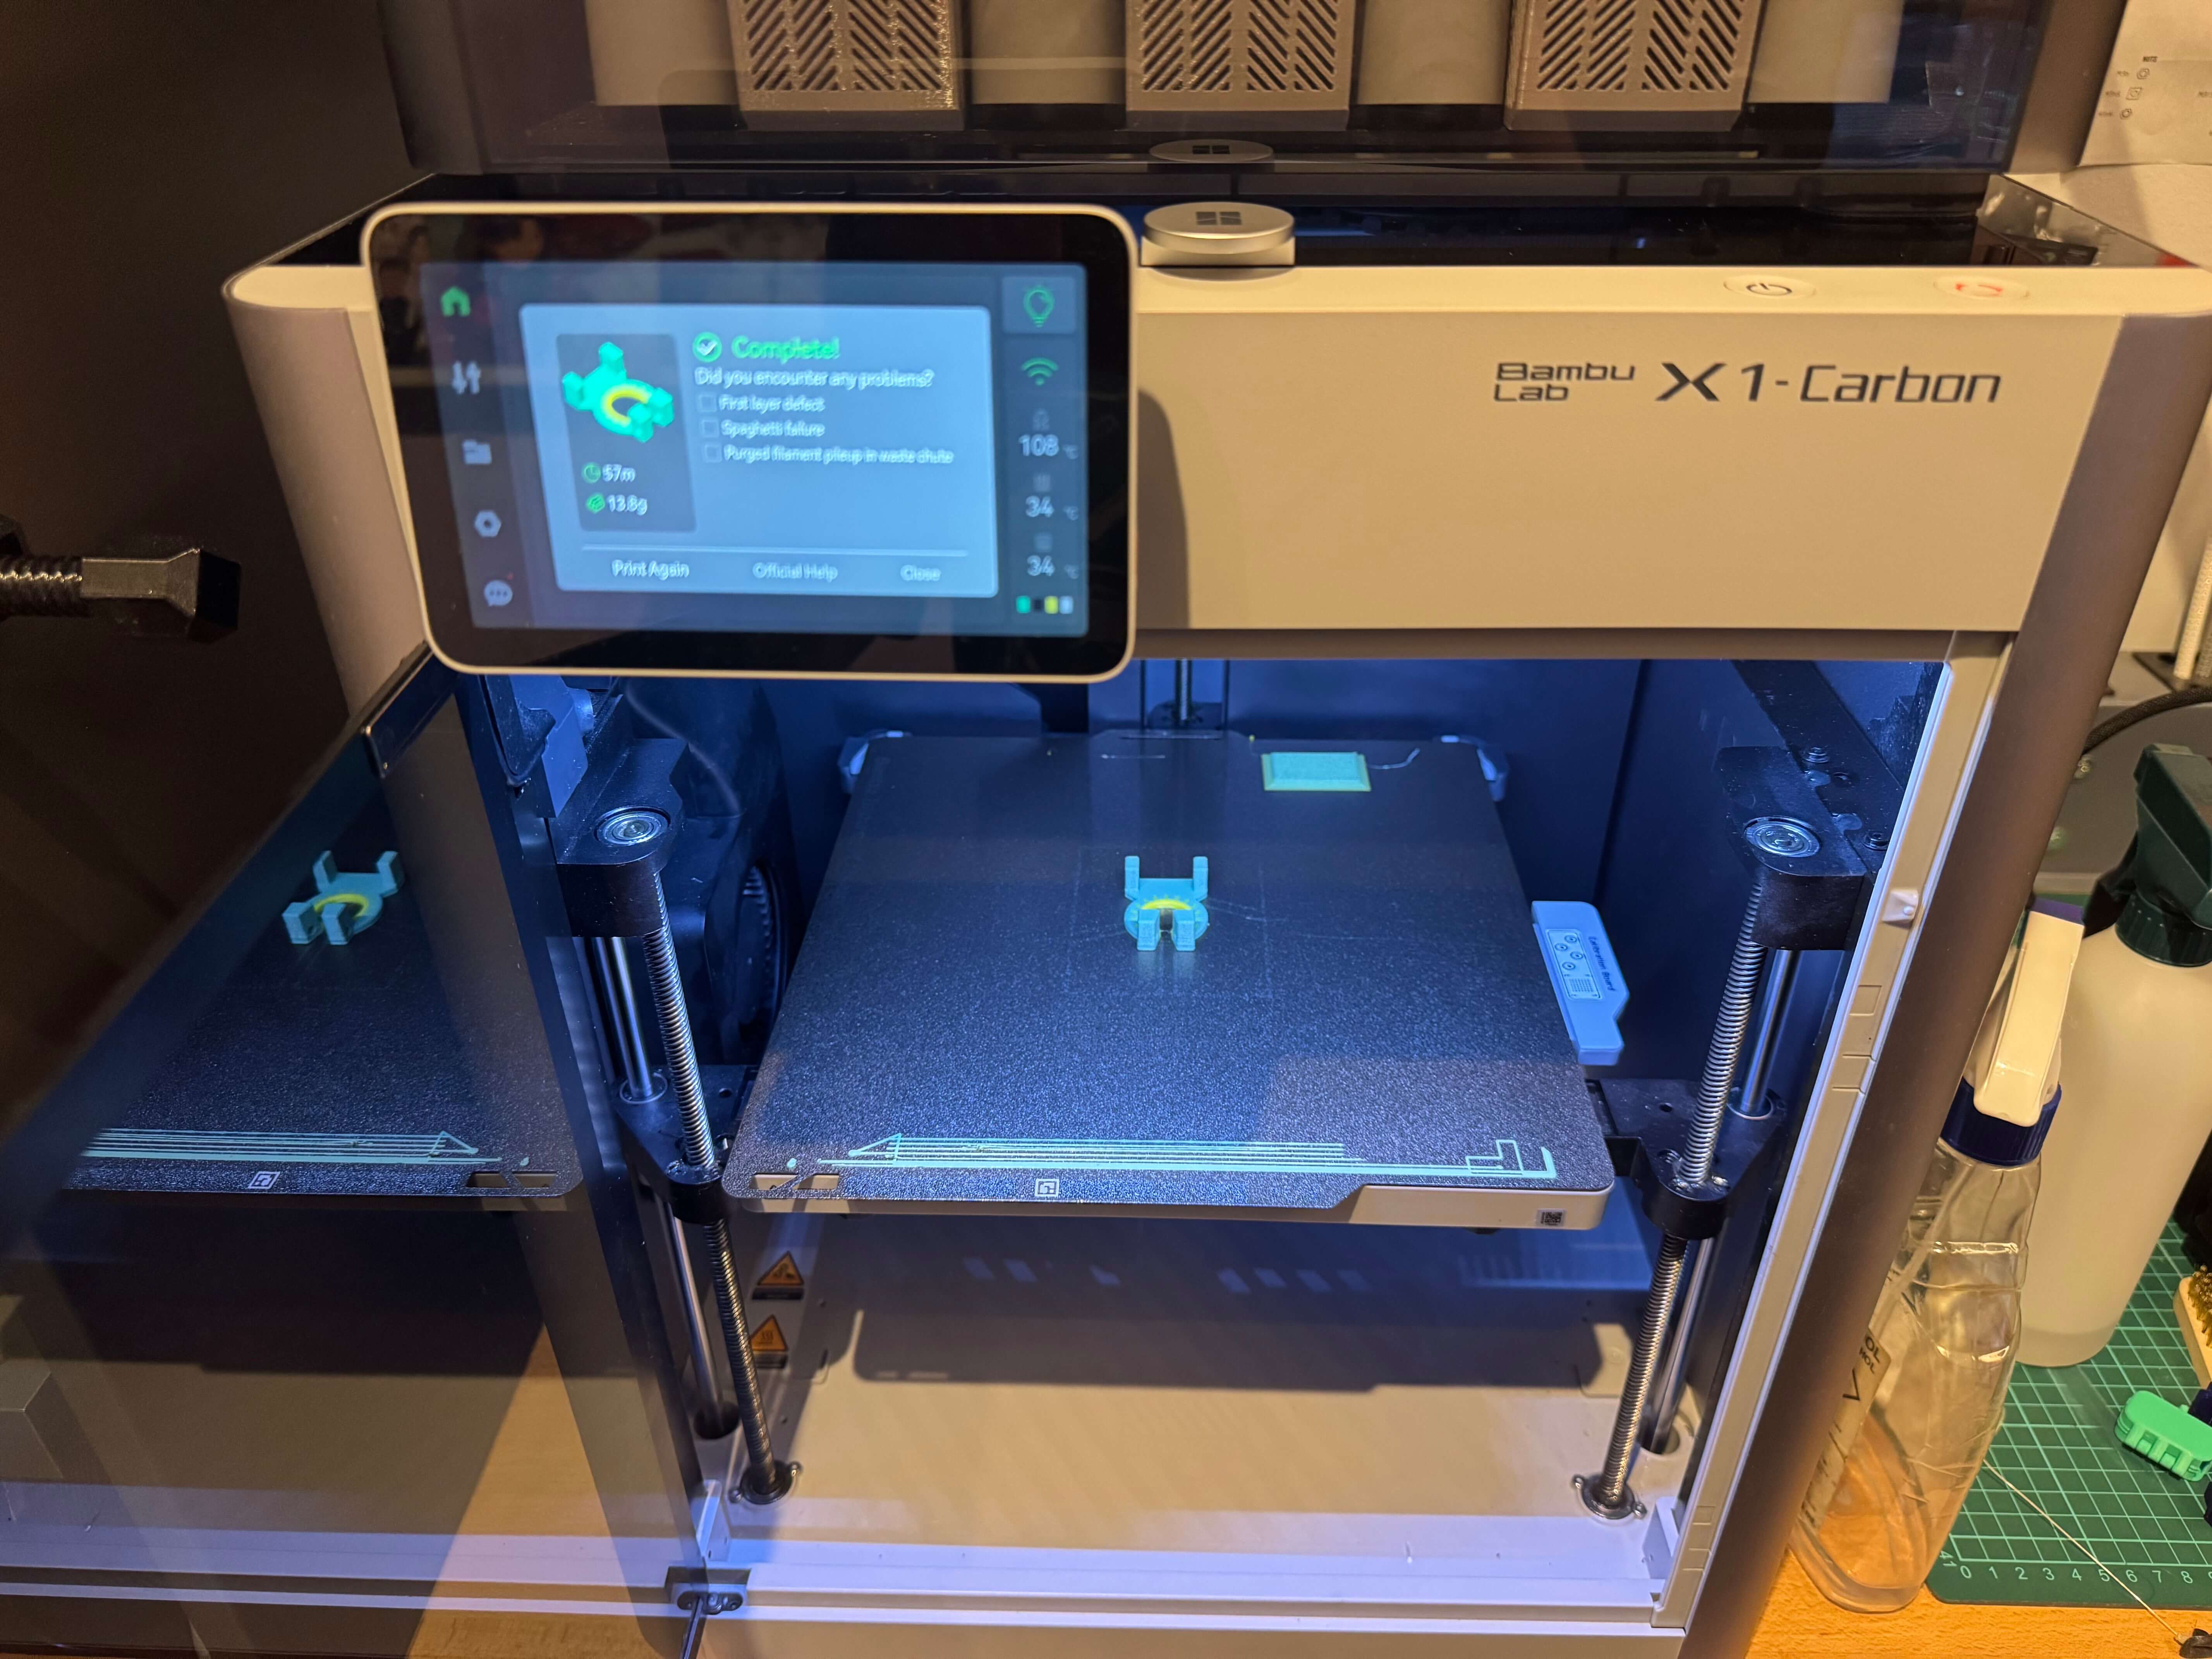
Printing on Celestýna (Bambulab X1C)
Here is a checklist of what I did to print the model:
- Check if the correct build plate is on the printer
- Clean the bed with isopropyl alcohol
- Select the file to print on the printer
- Select the appropriate filament types in their respective slots in the AMS
- Check if the nozzle is clean
- Check if the purge waste bin has enough space
- Start the print

Additional Model: The Headband
This headband was originally modeled in Week 2. I decided to print it using PETG at 0.2 mm layer height, 3 perimeters, and no infill, because the headband is thin and primarily reliant on its walls.
Slicing for Nexter (Prusa MK4S)
I used PrusaSlicer to prepare the model for printing. Here are the settings I used:
- 0.2 mm "Structural" profile for the Prusa i3 MK4S
- 3 perimeters
- Prusament PETG for the material


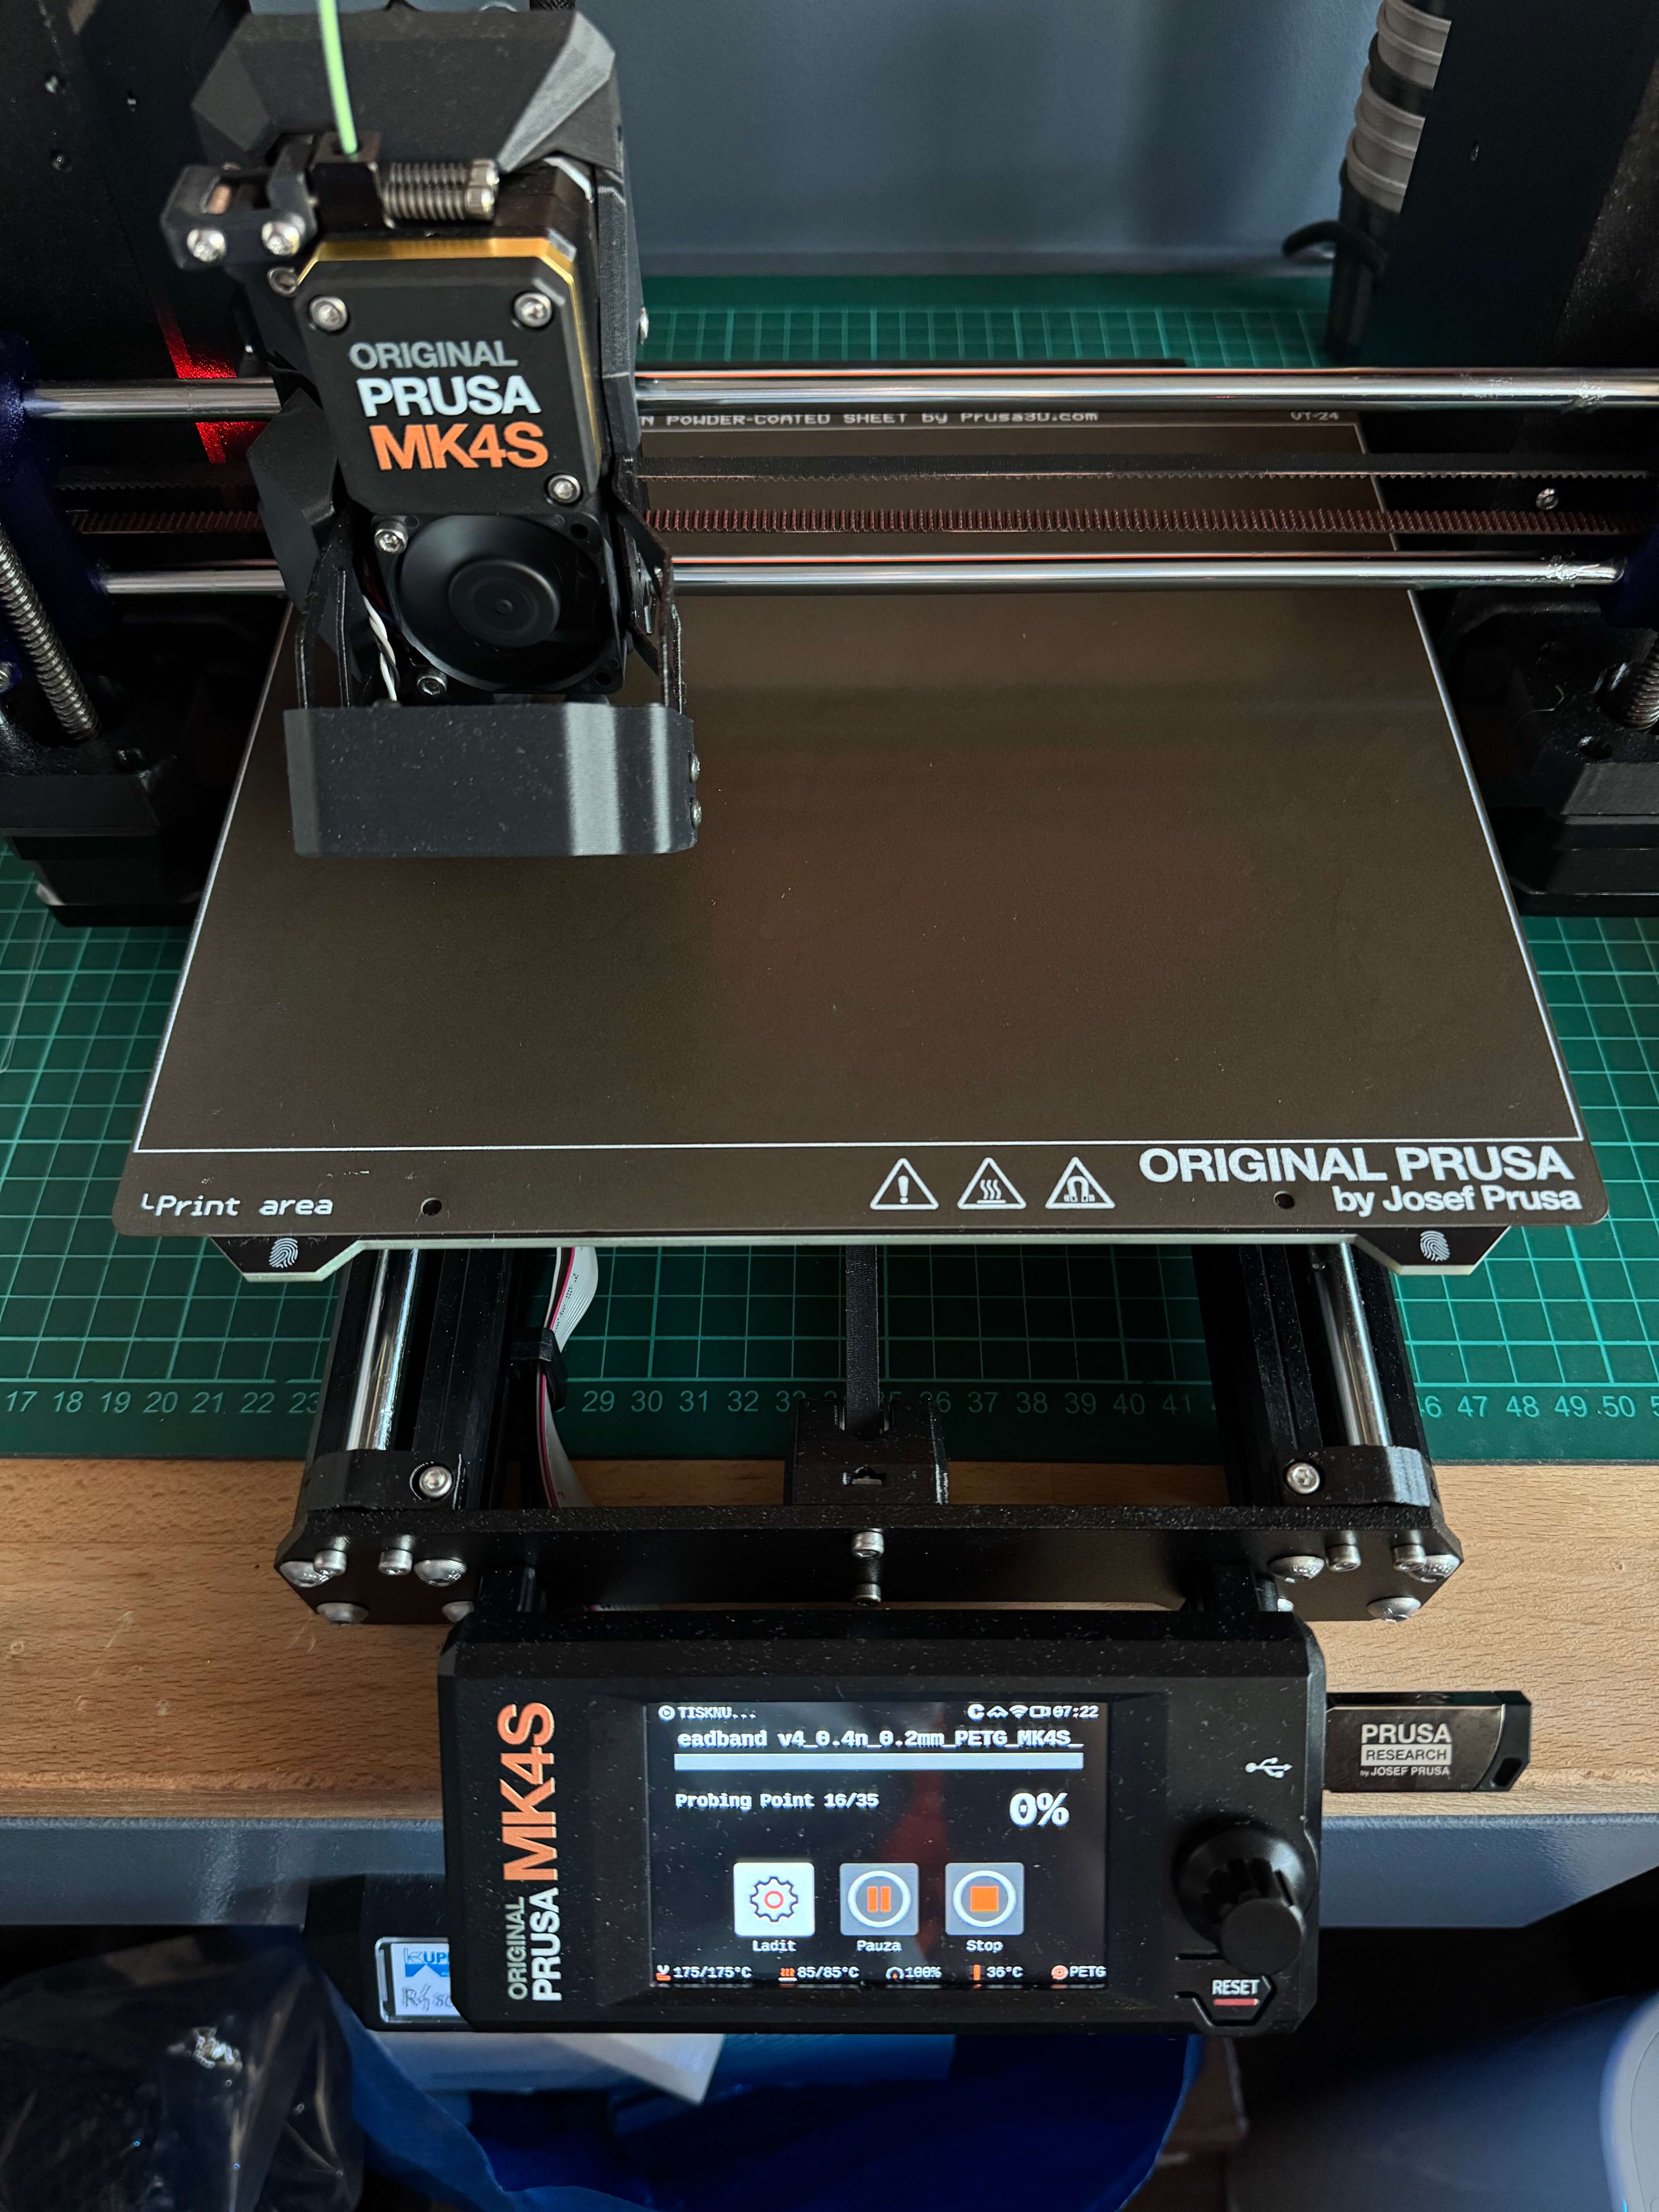
Printing on Nexter (Prusa MK4S)
The printing process was straightforward. Here is a checklist of what I did:
- Check if the correct build plate is on the printer
- Check if you have the correct material loaded
- Check if the nozzle is clean
- Clean the bed with isopropyl alcohol
- Start the print by selecting "ready" on the printer
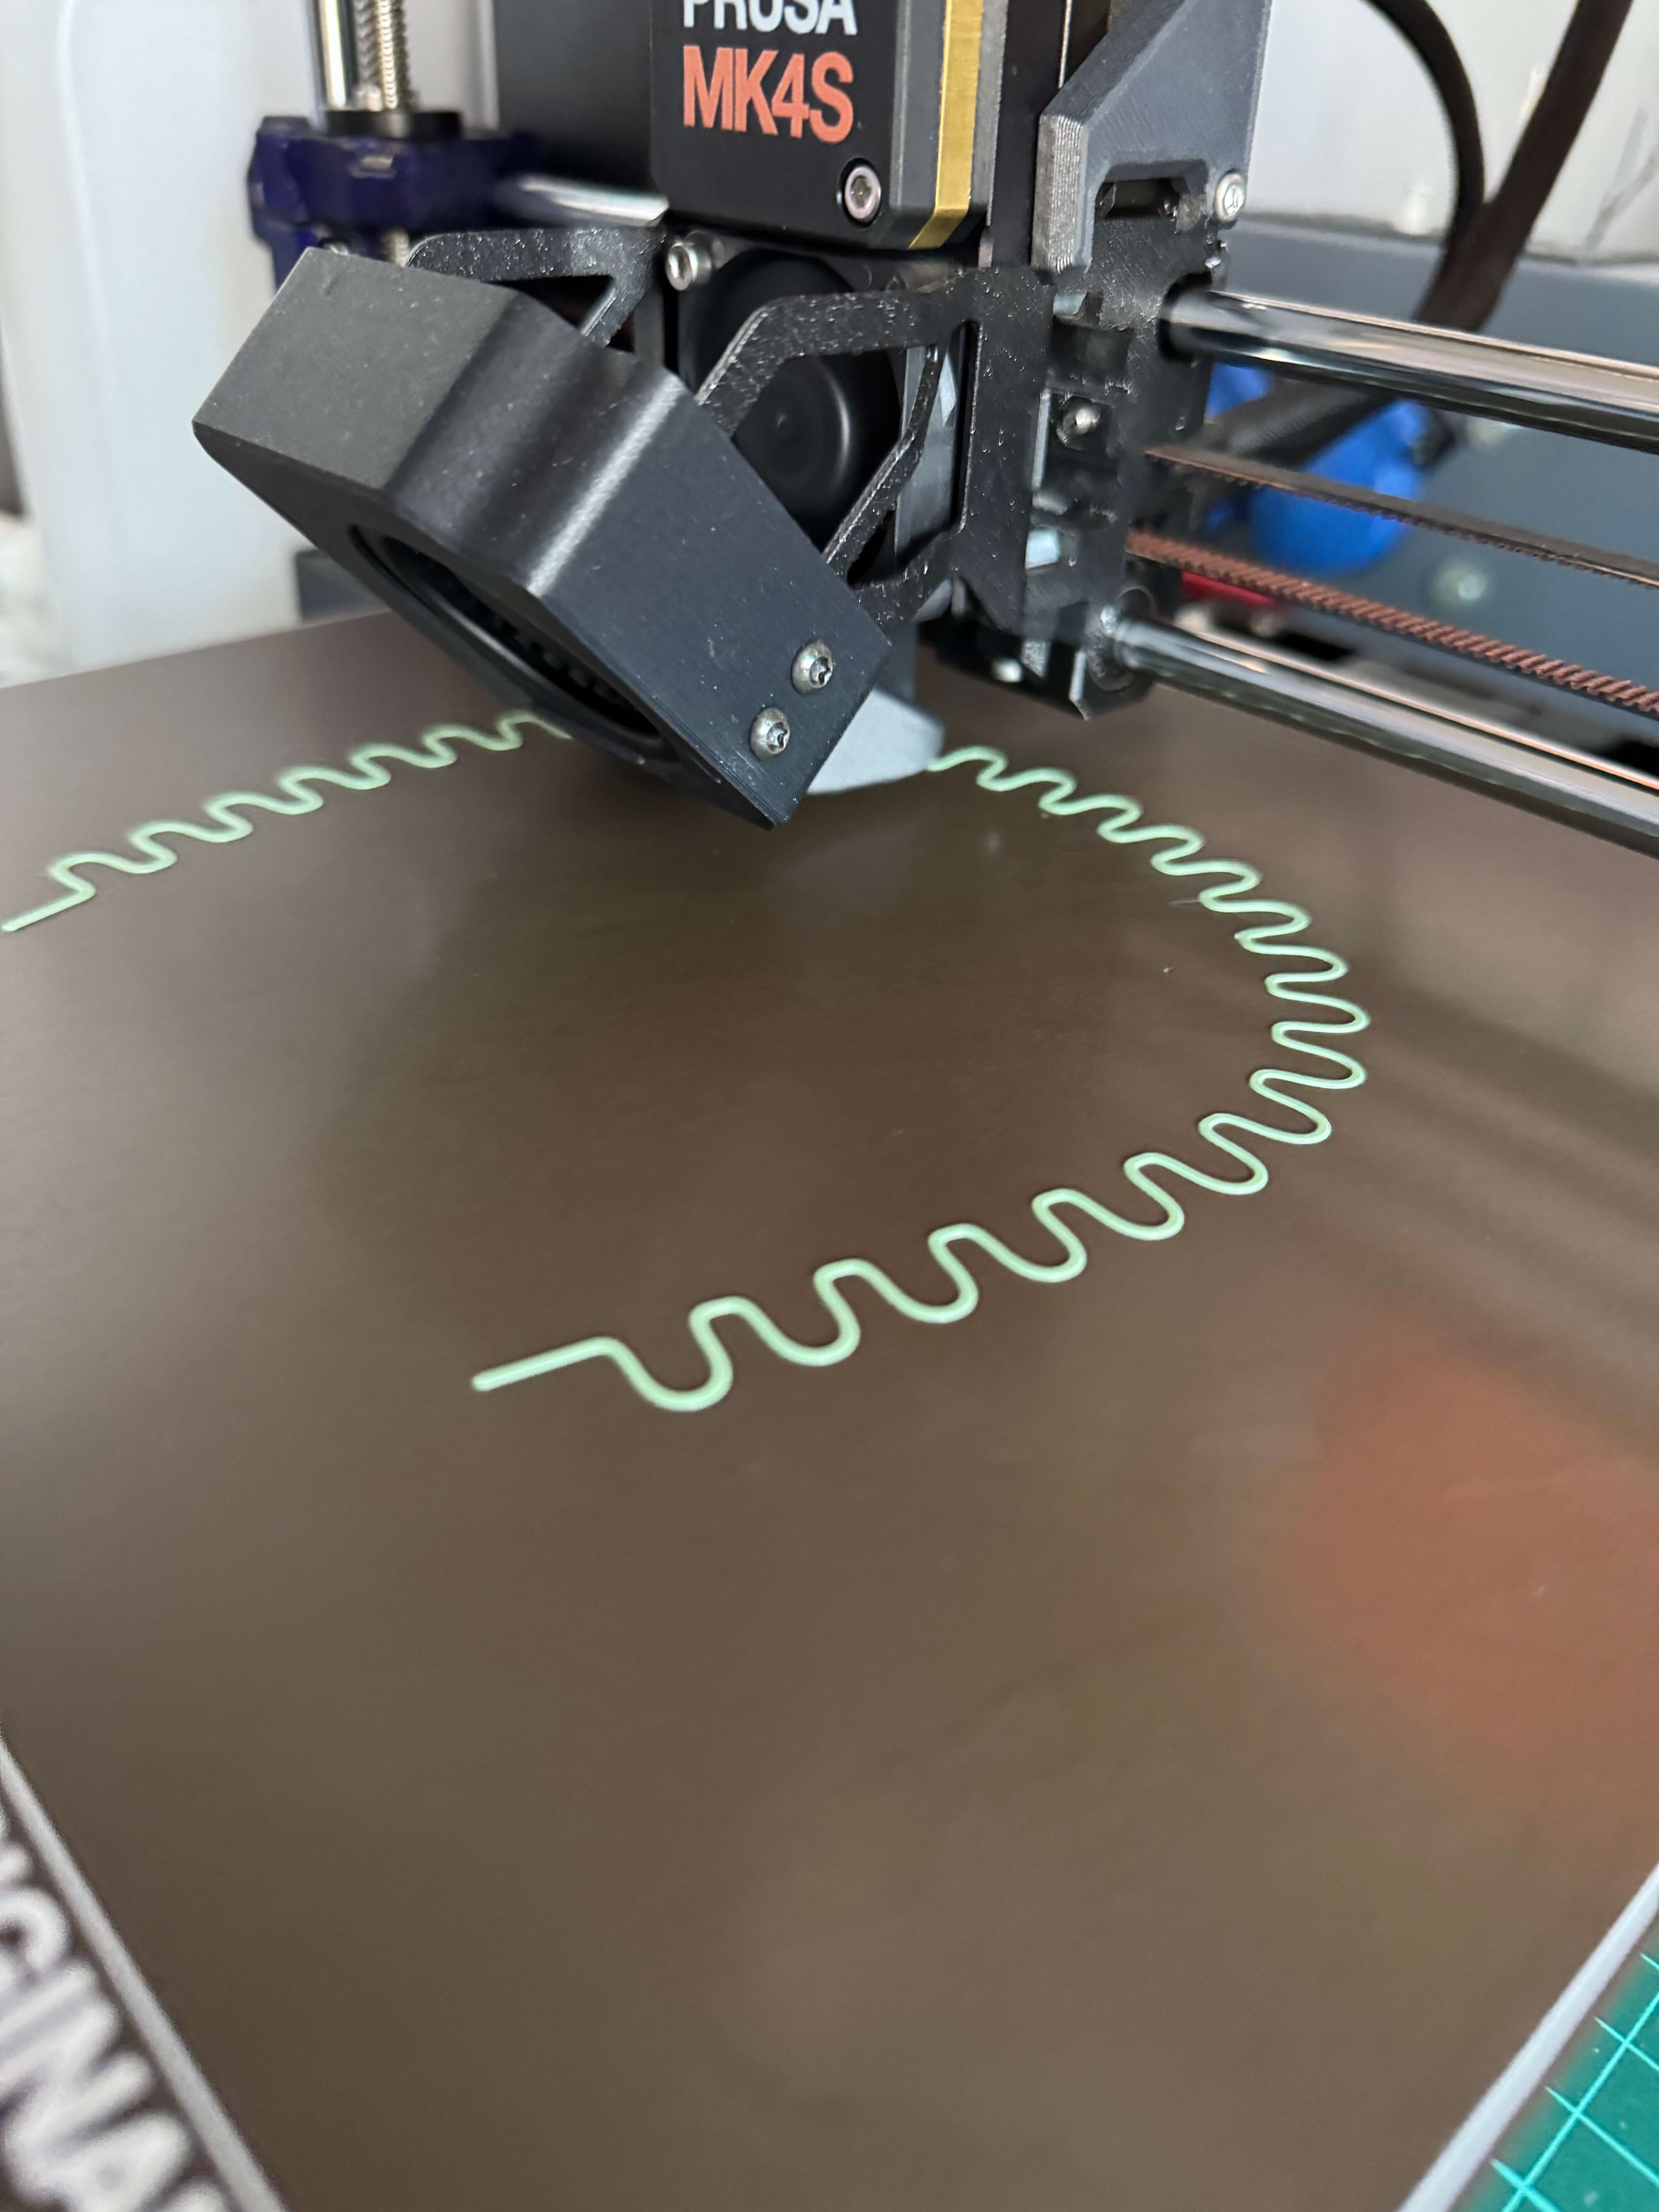
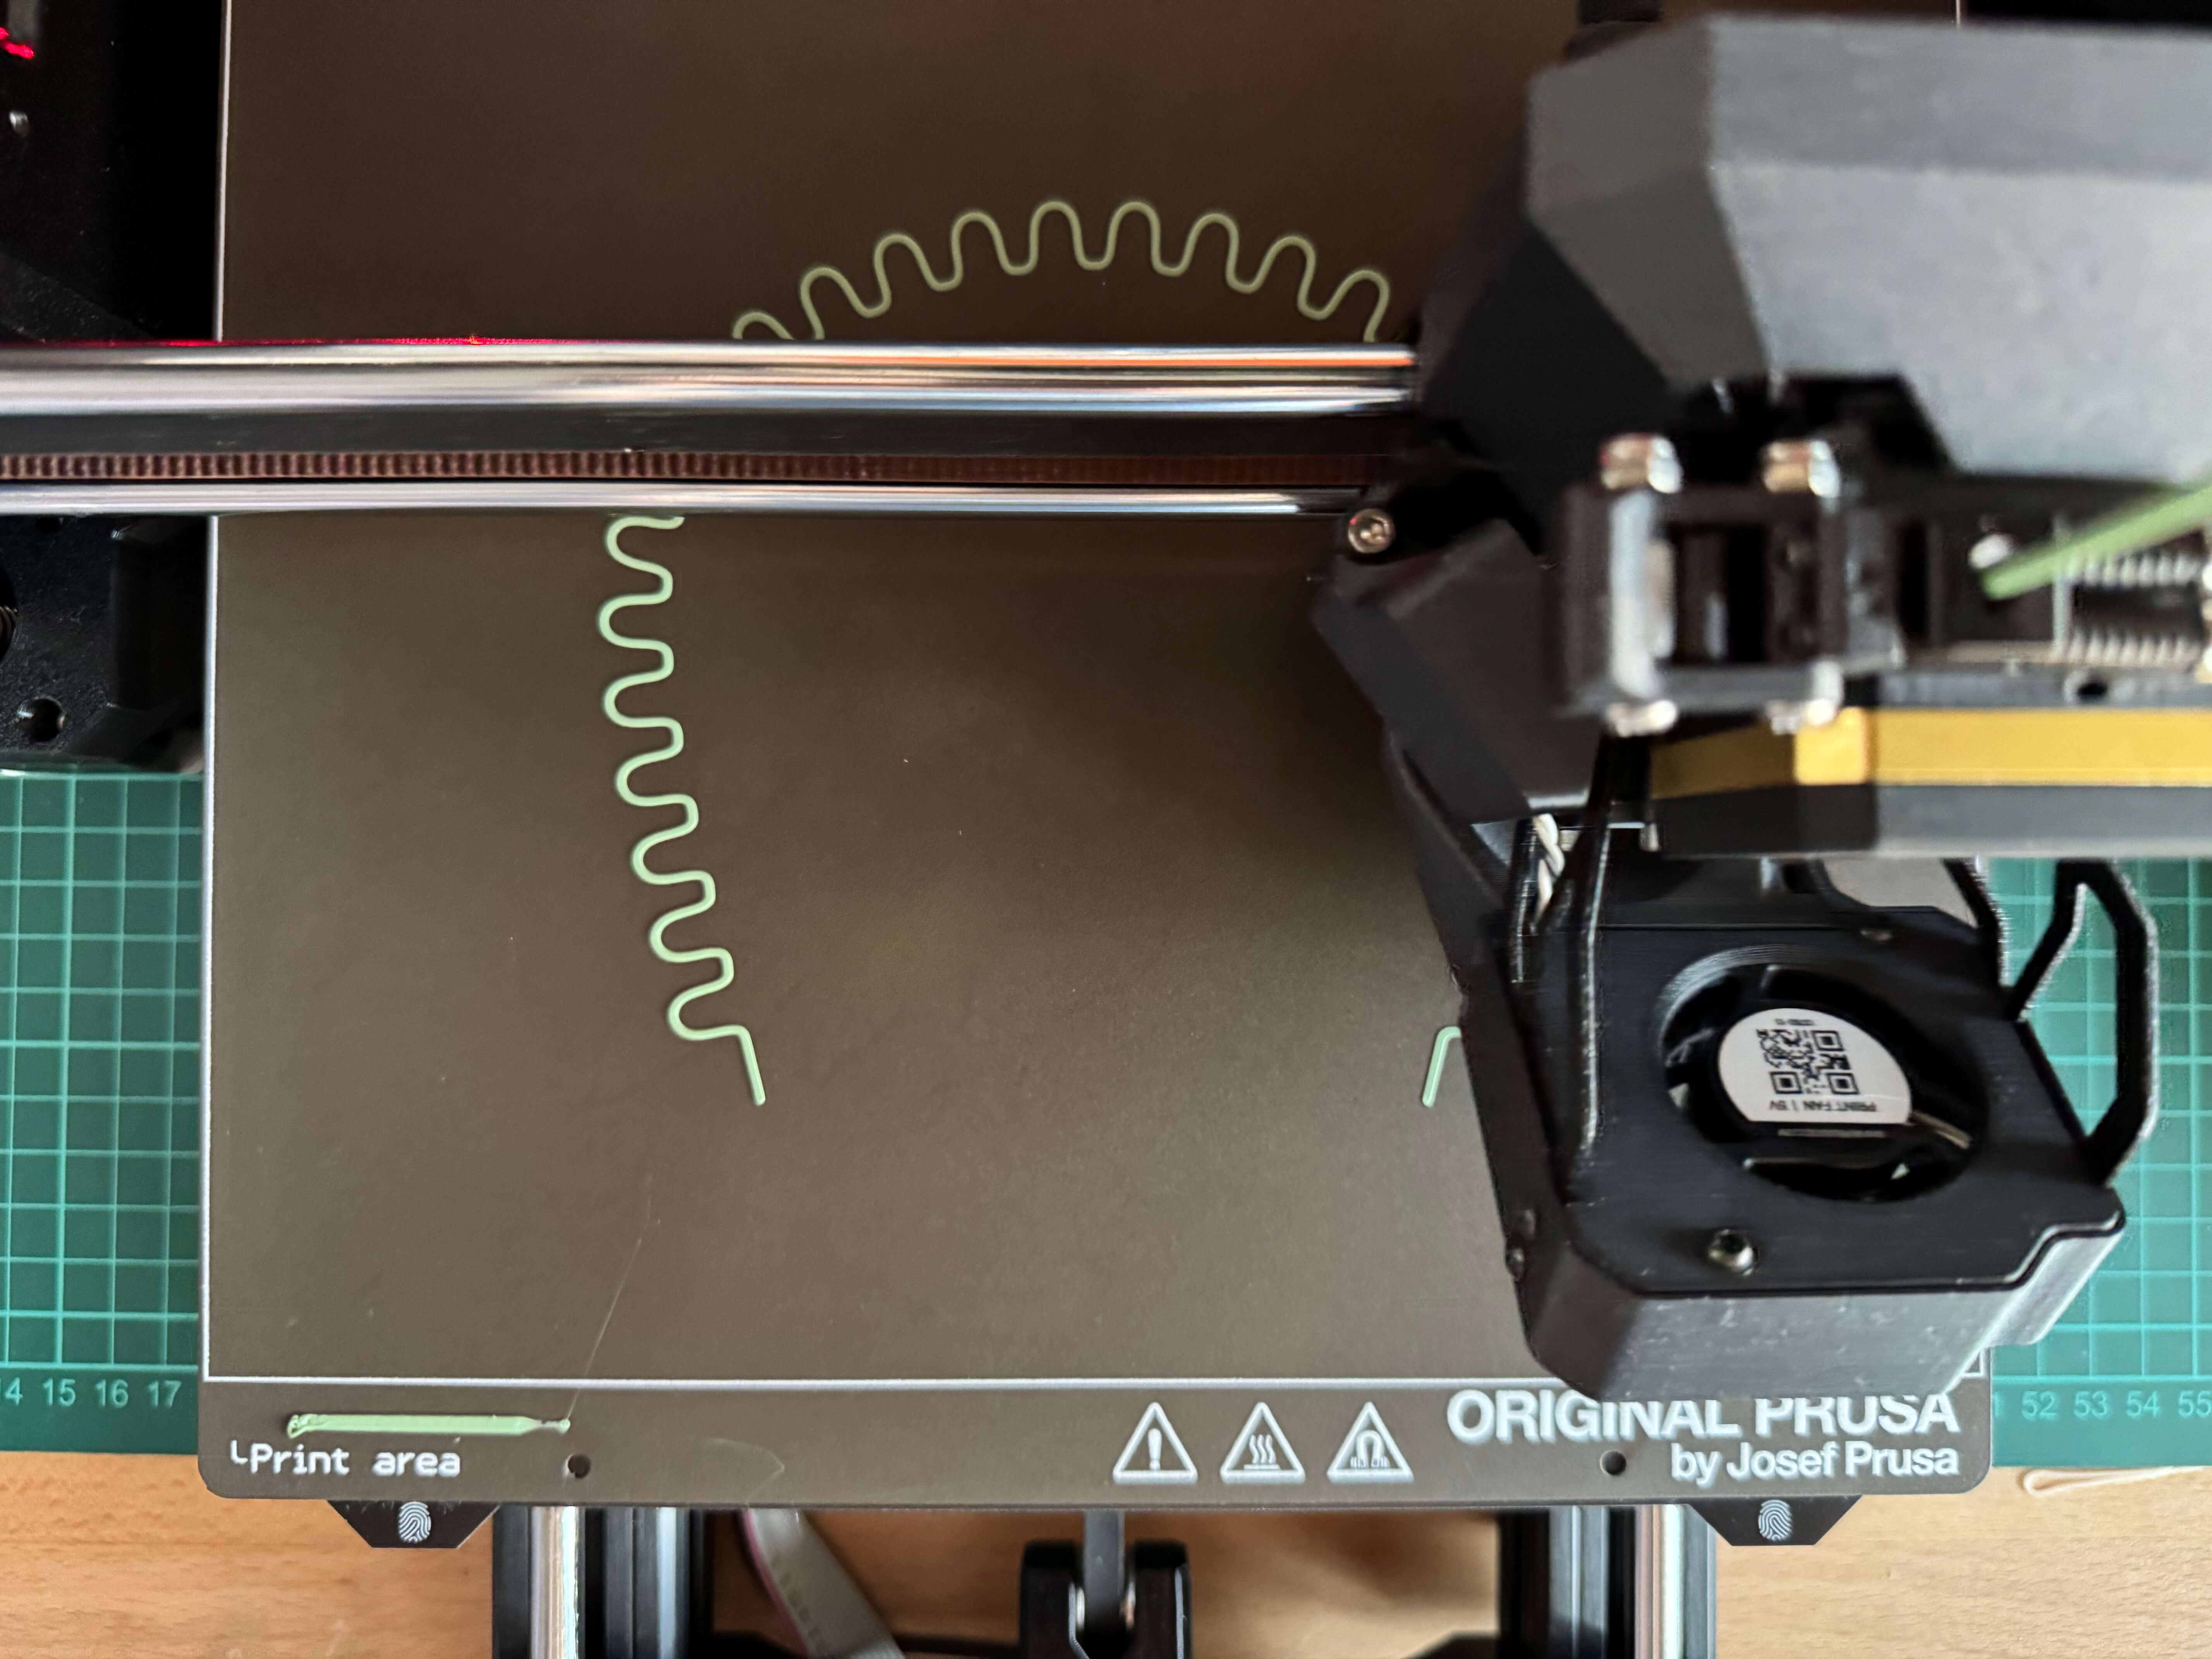
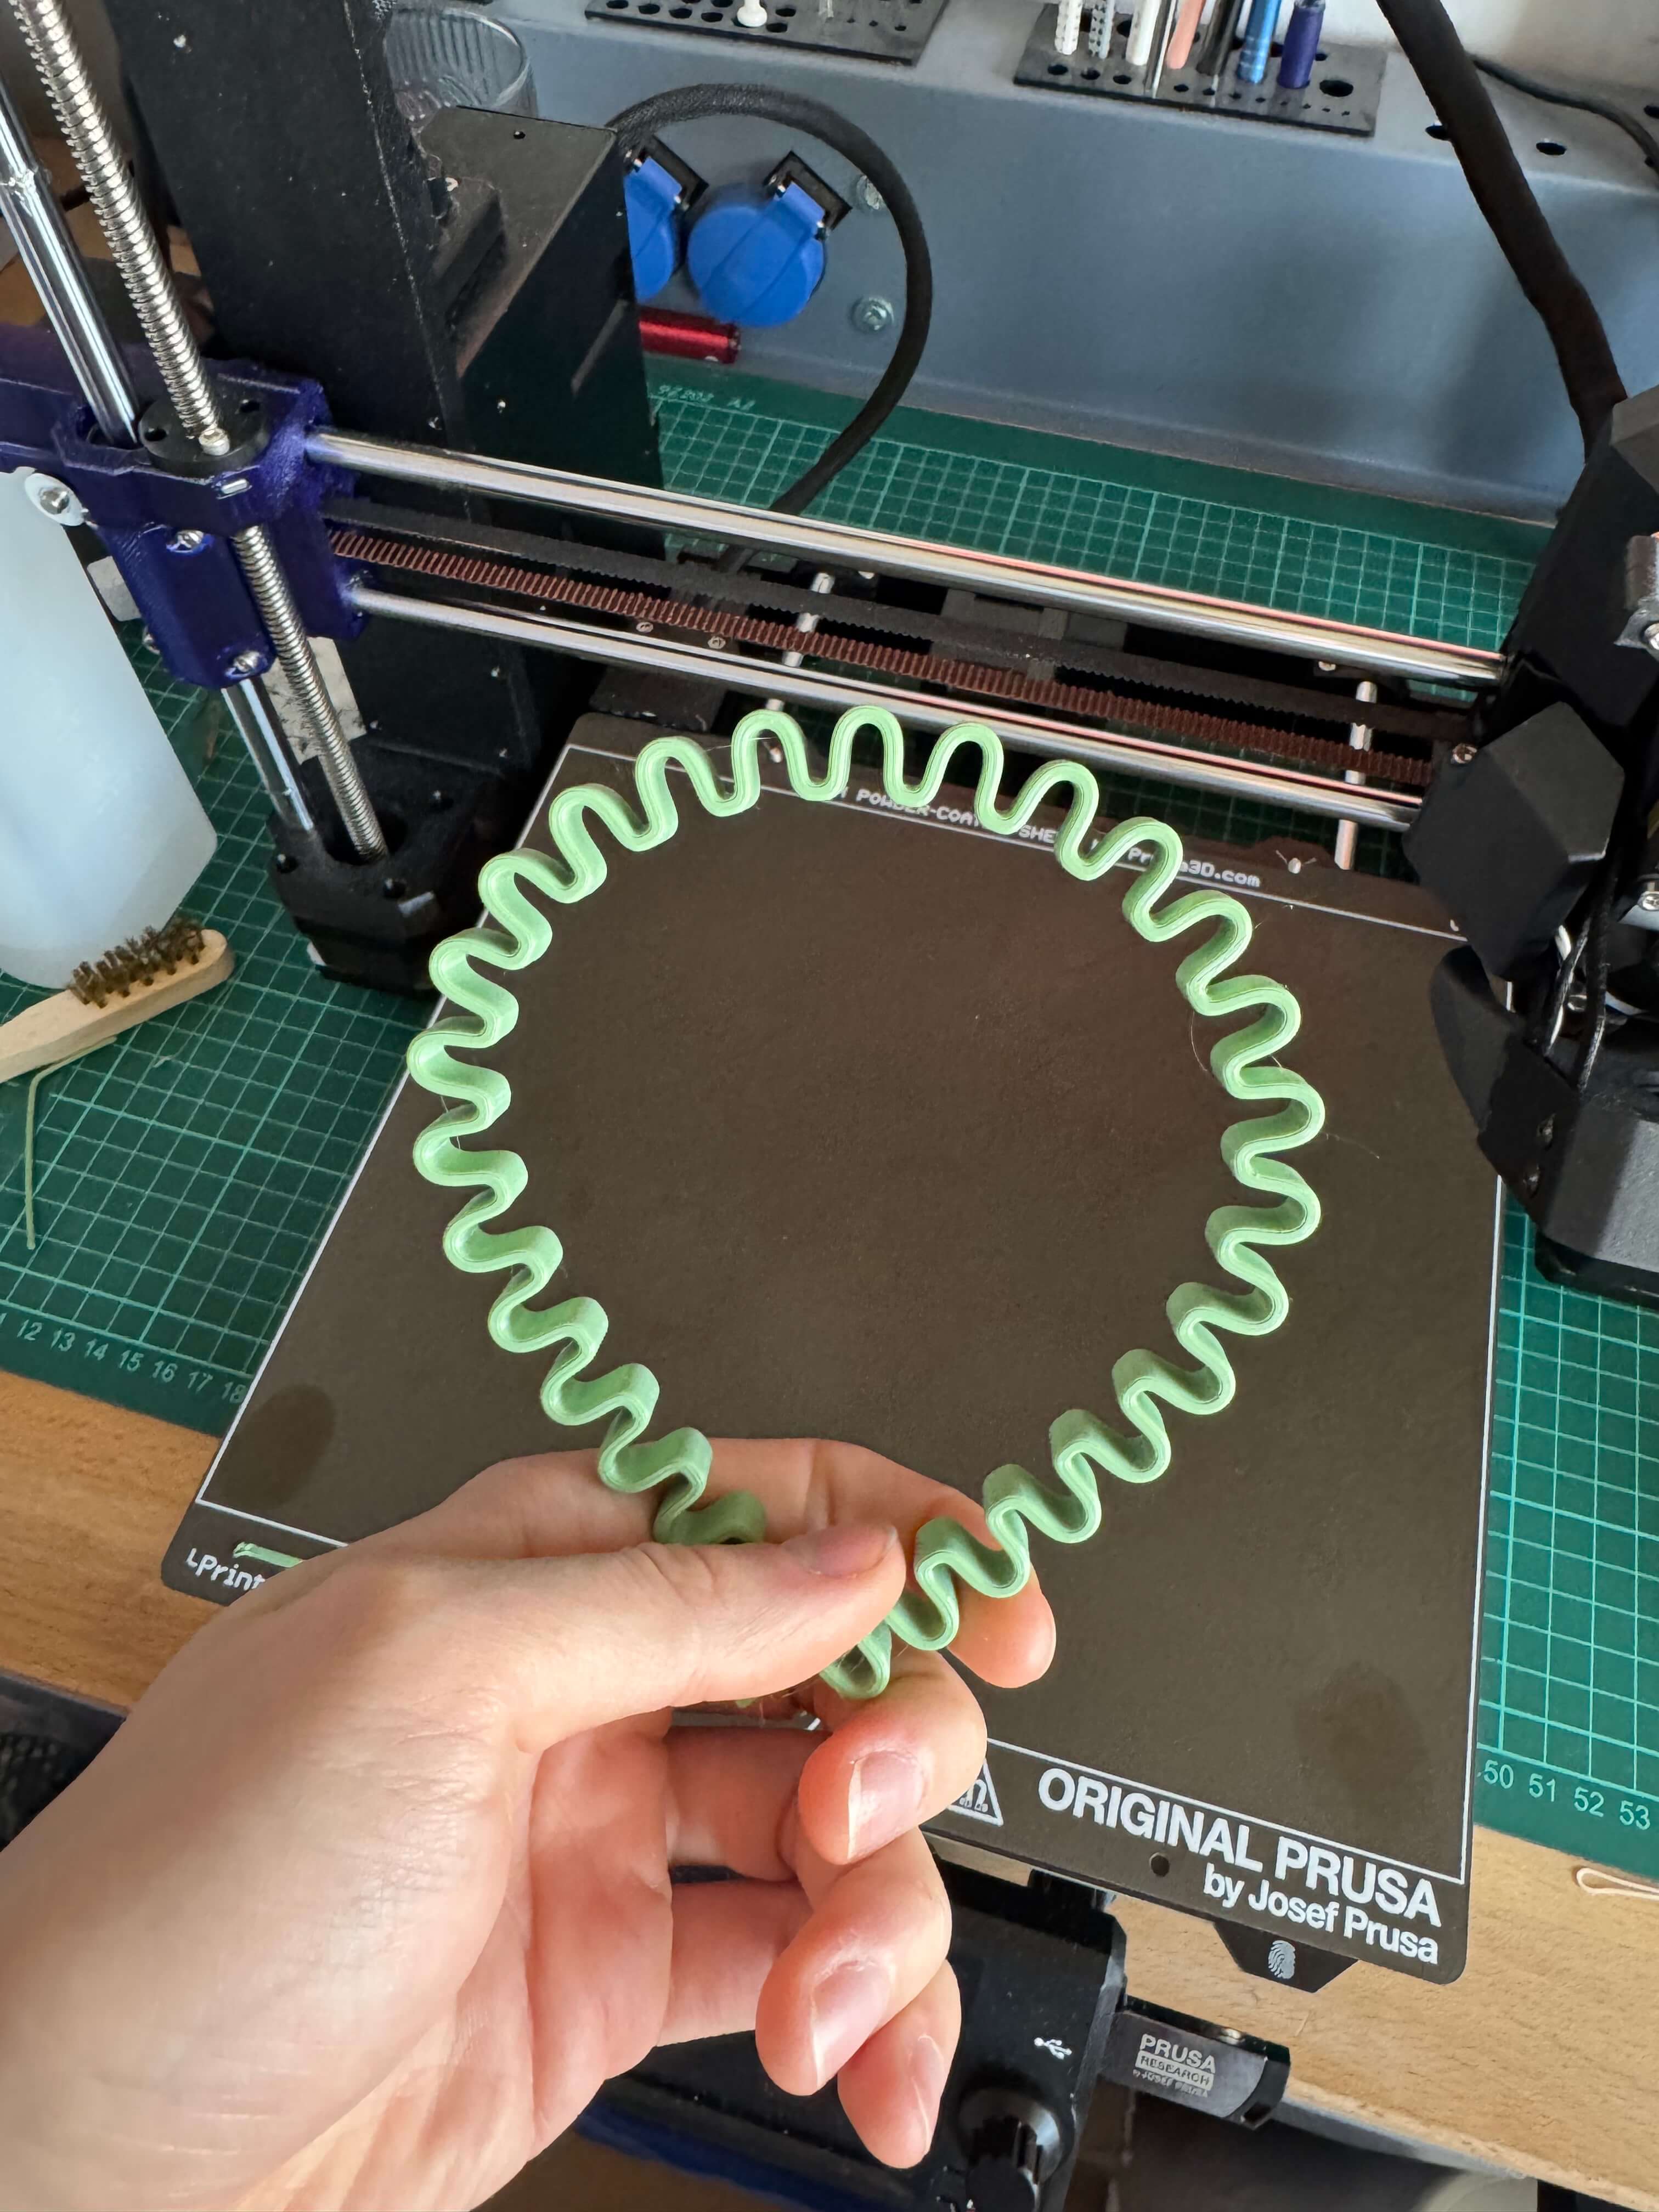
Result
The print was successful. The headband is thin and flexible, but maybe too flexible. I'll revise the model or use a different material. I'll wait for feedback from my girl friend
Conclusion
I successfully scanned the bird and the fantasy beast with the 3D scanner. The scanner captured the surface details well. I also modeled and printed a passive braking mechanism and an additional model on a Prusa printer. The prints were successful, and I am happy with the results. I look forward to the next week.
Takeaways
- 3D scanning is a powerful tool for capturing the surface details of objects.
- If the object you want to capture is slightly bigger than the scanner can fit, you can scan it from multiple sides and align the scans in the software.
- 3D modeling is a great way to design complex parts that would be difficult to manufacture using subtractive methods.